It is with incredible sadness that we share the news that our dear colleague and friend, Andy, passed away this week. Andy was more than just a part of our…
Blog
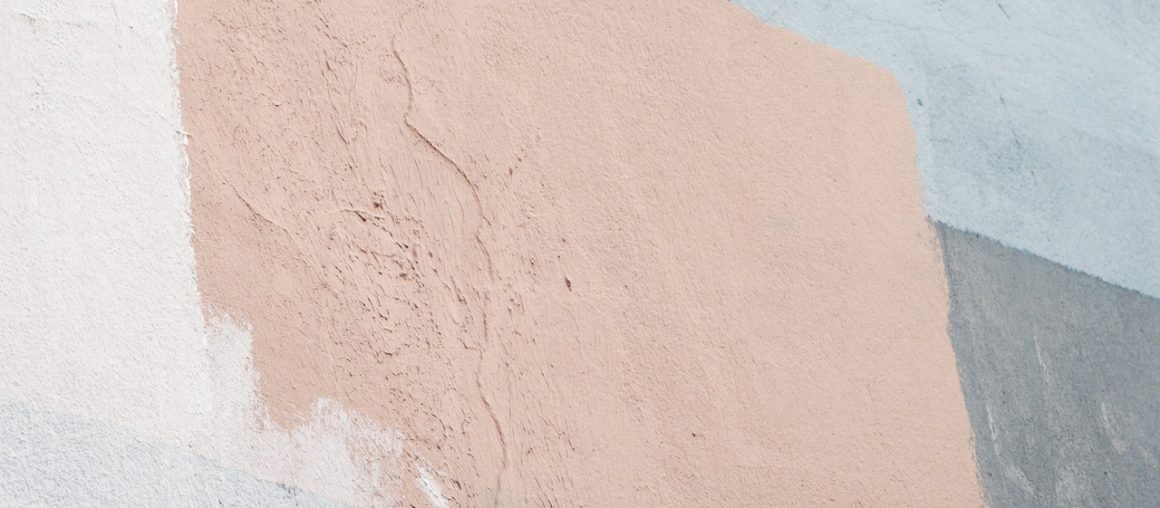
How to fill in walls cracks before painting
If you are going to paint or repaint a wall, it is important to make sure the surface in question is properly prepared to give you the best finish possible.…
How to paint skirting boards
When it comes to giving your room a simple freshen up, giving the skirting boards a couple of coats of paint is one of the quickest things you can do. Once…
Different types of paint and their uses
If you have decided to paint your home, you may be shocked by the number of different paint options that are available. Knowing about different types of paint and their uses is imperative to ensure that you choose the right paint for your project. We take a look at the different types of paints that are available and when you should use them.
Emulsion paints
Emulsion comes in four types of finish. All are water based and suitable for ceilings and walls. First off we have flat matte. This is a vinyl free paint that is most suited to new plaster. It has a totally flat chalky finish that is well liked but completely untouchable when it comes to durability. Fingerprints will leave marks that can’t be touched up or cleaned off as it will reactivate with any moisture and is prone to attracting dirt.
Vinyl matte – This is a matte finish paint that is good for hiding any mild imperfections on walls if perhaps they’re not quite perfect. It has an extremely mild sheen if you shine light directly on it. There are now mildly durable matte paints that can be gently sponged if needs be.
Mid sheen/soft sheen- This has a mild sheen to it and is often labelled as kitchen and bathroom paint due to its durability and resistance to moisture. This is all to do with the amount of vinyl in the paint. It’s also the vinyl that gives it the light sheen.
Vinyl silk – This paint and is the most durable of all of the emulsions. Its also the shiniest. It’s often used is very heavy traffic areas like hallways and in hospitals and kitchens as it can really take some force if you need to clean the walls or ceiling for any reason. It can be touched up with general ease and is great for light reflection given how shiny it is.
Oil paints
These come in many forms such as wood stains, under coats and gloss or satin being the most common. They are used to paint both wood and metal throughout the home.
The undercoat and gloss are suitable both internally and externally. Gloss is extremely hard wearing and can be cleaned easily. Satin finish is also suitable for wood and metal but doesn’t have what it takes to stand up to the weather outside. It does, however, stay whiter for longer than gloss. Satin isn’t as shiny as gloss and if you really prefer a matte finish then eggshell is the way forward as that has the softest finish of oil based products. Unfortunately, the softer the finish the less durable the paint so that’s to be considered if perhaps you have children or pets that might make cleaning more frequent.
Wood stain comes in two forms, the shiny and the matte. Both can be used inside and out as they’re both durable and can handle the weather. The only thing to remember is that you can always stain darker but you can’t make wood lighter with wood stain unless you’re prepared to sand all of the old stain out if it and start again.
Varnish also comes in finishes ranging from matte to gloss. Oil based varnish will always have a colour to it that acrylic varnishes don’t so unless you want to have a honey colouring to your wood then acrylic is your way forward. That being said acrylic lacks the durability that an oil-based varnish would have.
As you can see, there are many different types of paint that are available for sale today. It is so important to make sure you purchase the right type of paint for the surface and part of your home that you are going to be painting.
What order should you paint and decorate a room?
 You may assume that painting a room is a straightforward task. All you need is a tin of paint and some paintbrushes, and you can start painting, right? Wrong! You need to have a plan. The order in which you paint a room will have a big impact on the outcome and final appearance. With that being said, read on to discover our recommended order for painting a room.
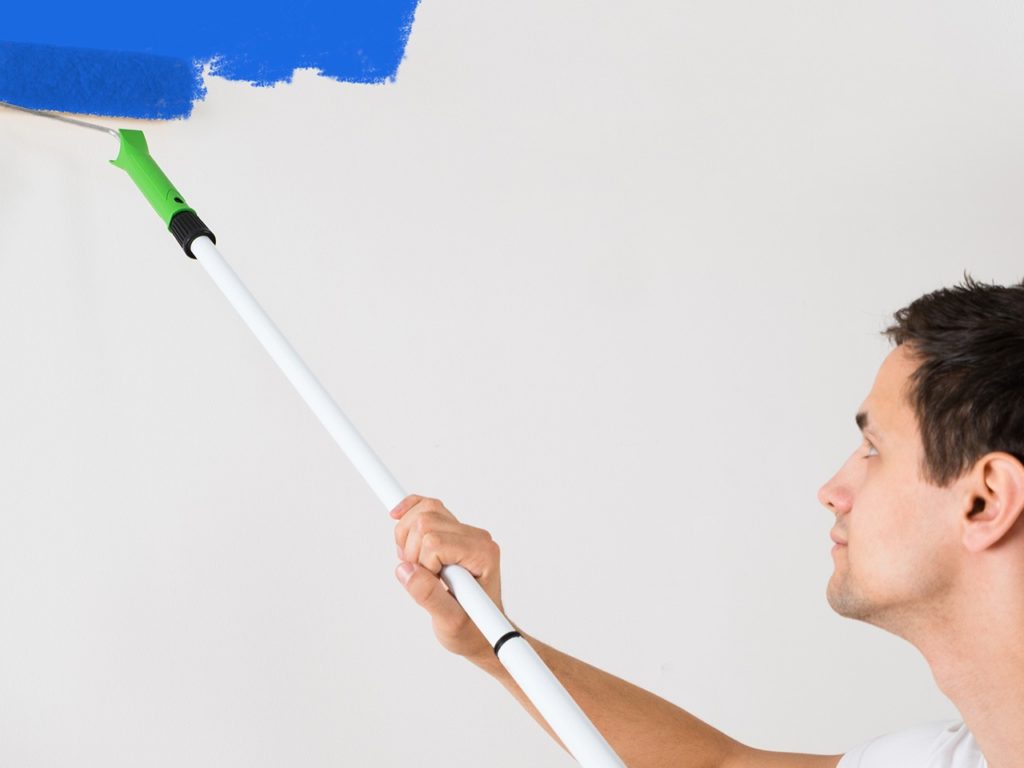
1. The ceiling
The first thing that you need to do is to paint the ceiling. This is important because it enables you to essentially cover the surface with at least two coats without having to worry about any extra bits of paint going onto the walls with the roller. You should use a roller with a double arm frame when you are painting the ceiling. This is important because it offers support at both ends of the roller, which means that even pressure will be distributed across the weight of the roller when you are using it.
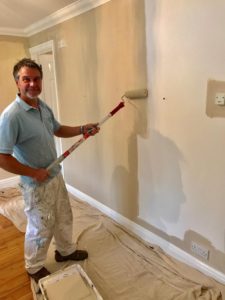
2. The walls
The next step is to paint the walls in the room. You should do this once your ceiling has dried. Make sure you apply two coats. It is also a wise idea to prime any areas that are stubborn. It’s advised that you use tape on any skirting board lines or corners but don’t get worried about getting any paint on the skirting boards at this point.
3. The skirting boards
The reason why you did not need to worry about getting any paint on the trim in the former step is that it will now be rectified in this step. Most people will use a high-gloss finish or a semi-gloss finish in order to paint their skirting boards. Use painters tape or masking tape to make sure the cut line is accurate.
4. Door frames and window frames
Next, you are going to tackle the window frames and the door frames. Don’t forget that preparation is imperative when it comes to this task. Make sure that you have caulked the frame’s edges properly against the wall and that you have filled any nail holes. You also need to make sure that you sand down all rough edges before the finish coat is applied. Again, use painters tape and frog tape to make sure the cut line is accurate.
5. The door
The fifth and final thing you are going to paint in the room is the door. The style of the door you are painting will dictate the way in which you paint it. For example, you should always paint the panels first if you are going to be working with panelled doors. A sash brush will help you to get into the profile of the panels, ensuring even coverage. You can then use a mini roller for the flat surfaces and a laying off brush to finish.
So there you have it: the right order of decorating a room. We hope that the information provided in this blog post will help you when it comes to decorating your own home. After all, it is important to make sure that you paint in the right order to make sure that a sleek and stylish job is done in the end. If you’re looking for decorators in Maidstone or the Kent area, get in contact with us today